Written on
This was the first time I've blacked narrowboat so I thought I'd write up my experiences and method used. At the very least it'll be useful for me in a few years time when I come to repeat the ordeal!
So err... why bother?
Steel in water will corrode. Over time this will literally reduce the thickness of the steel the boat is made of. In the worst cases this can lead to breaches and sinking. Overall it's an expensive thing we want to avoid, especially if we want the boat to survive long-term. The general consensus in the boating community, is a narrowboat blacked with bitumen, should be done about every 2 years. That statement alone is going to annoy some people, so let me state well in advance, that anything listed in this article is my opinion.
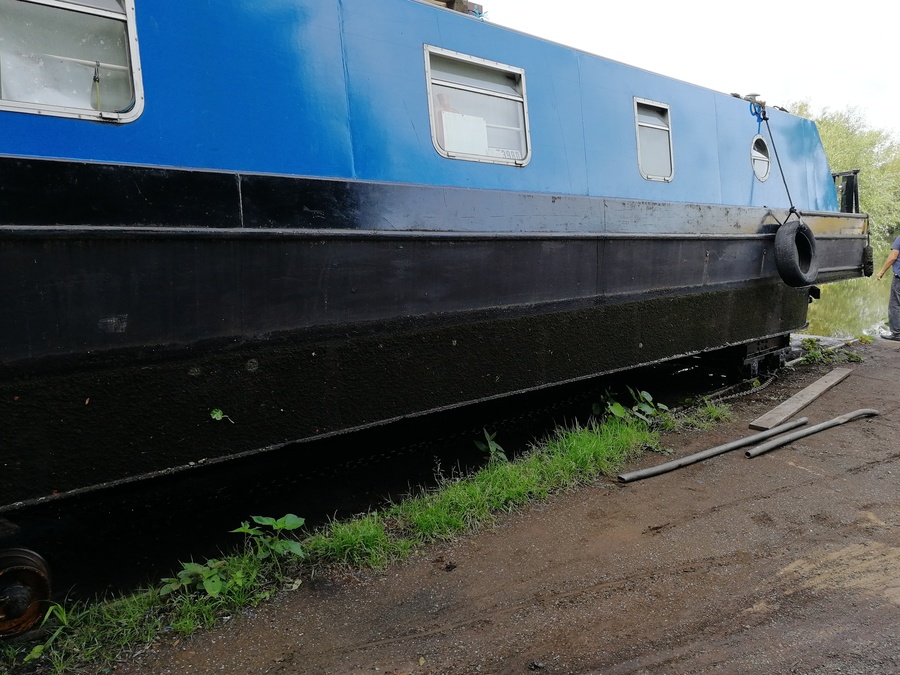
Just out of the water, ready to get started
I decided to use Harefield marina. Here the boat was towed out of the water on flat railway tracks into the water. Here I would have a week to complete the job. Step one is to jet wash the hull. This removes growth and anything not very much attached to the hull. I decided to pay the marina to do the job.
Here we can see that Mylindi has not been blacked for at least 3 or 4 years seemingly. Anyhow our first job will be to scrape the surface close to the waterline. We want to ensure there is no loose rust anywhere. In my case there wasn't any on the sides.
Before blacking various jobs should be done to ensure the paint when we put it on the hull, stays on the hull. The better the adhesion the better the protection it will do once back in the water.
My first job was to spray the hull down with a 1 to 5 ratio mix of bleach to water. This was left on for a day. Bleach will kill off most of any bacteria munching on on my hull. There is little point in preventing water damage to the steel if its going to be eaten anyway! Next using a Tercoo rotating blaster (scrabbler, rotating thingy of death) attached to my cordless drill, I roughend up the surface along the water line. This was to check for rust under the above-water paintwork as well as to ensure I was forced to look at the entire hull in detail to spot any issues. Following this I applied a rust-converter known as Fertan to the entirety of the hull. This was done to provide a reliable surface for our blacking to bond to. After a day the hull was again washed with cold water. This was to remove any loose fertan prior to painting.
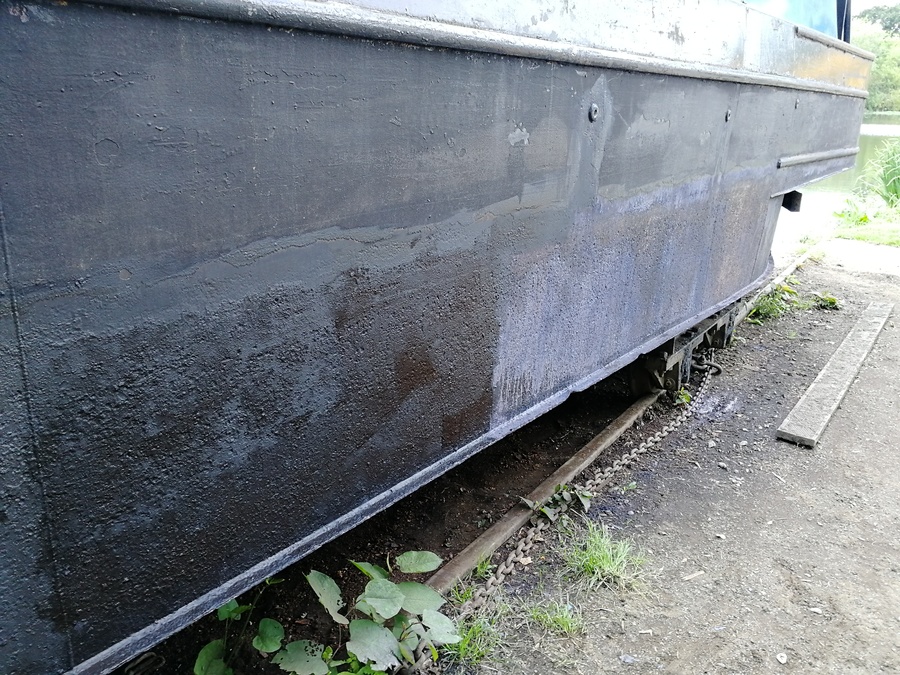
Note that areas about outlets were derusted and treated throughout the process. After the Fertan was washed off, we are ready to begin painting.
Broadly speaking, narrowboats are painted with bitumen or epoxy based compounds. The former is the more traditional, cheaper and requires redoing every couple of years. The latter requires the hull to be grit-blasted back to bare-steel but will provide excellent rust protection once done. Unfortunately the latter is very expensive to have done for an older boat. For Mylindi this would have run into thousands of pounds!
So what is a boater to do? Well there is a third option - Keelblack (http://www.keelblack.co.uk). This is a water-based emulsion with a long list of properties that seemingly are too good to be true. Online there are various comments good and bad about the stuff. Part of the reason I'm writing this article is so when I have the boat out of the water next time I can make a more definitive statement to whether the stuff holds up!
For now let's say that the boating community is not great at adopting new technology at the best of times and I had read testimonials from other boaters I trust. So onwards!
Keelblack recommends 15 litres (3 containers) for a narrowboat of 45ft. I would say that is vastly too much. One container is plenty for the sides of the boat, two is enough for that and the bottom.
Secondly Keelblack recommends using paintpads. I would say that works for about 5 minutes until the paint dries the paintpads rock hard. So what do I recommend?
I would also say you need a broom handle or anything else appropriate to extend the roller range.
After trying every time of roller I could find, the deep pile of the masonry rollers made my life immediately much MUCH easier.
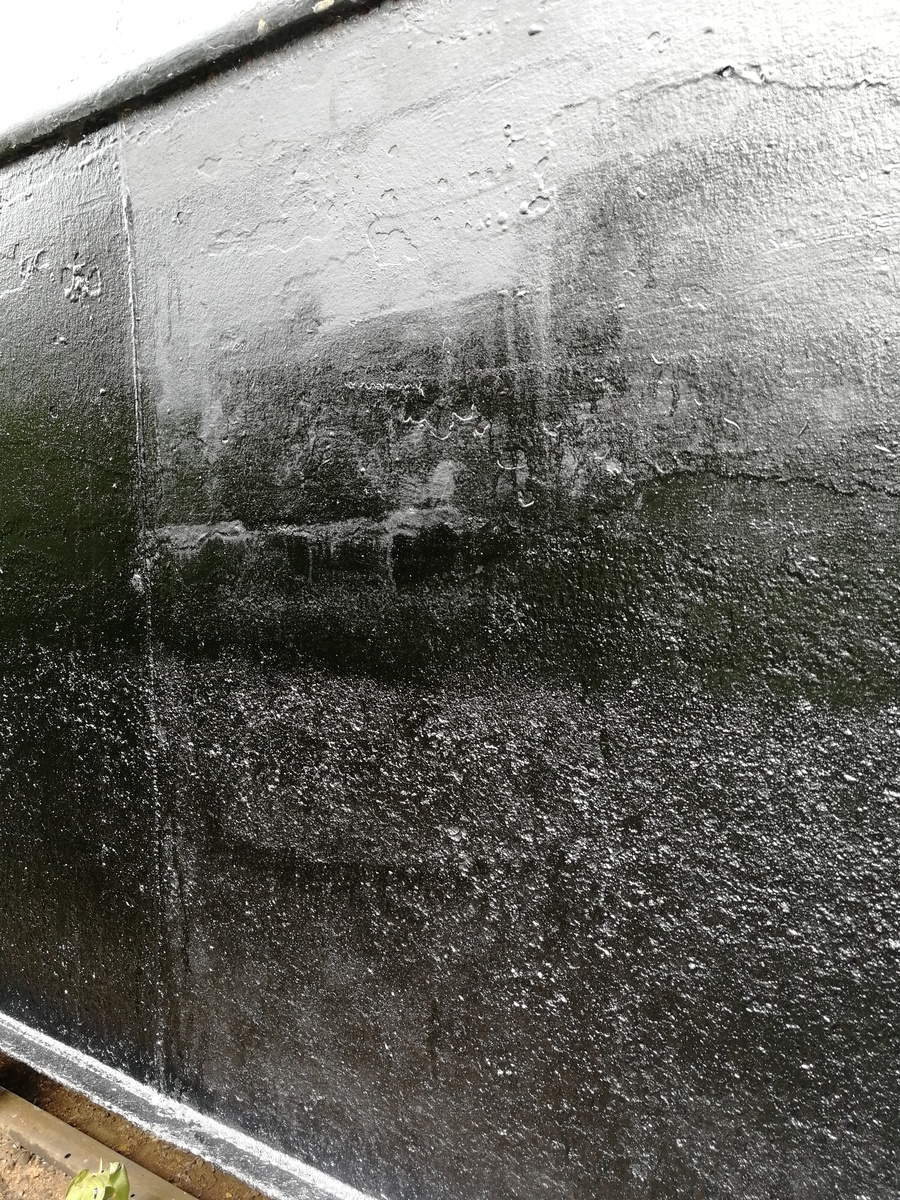
Keelblack needs at least 3 coats. The time it takes to finish a coat is more than enough for the next coat to go on. I left 2 days before going back into the water to ensure the stuff was fully dried before the boat went back in.
If I was to paint again here is the process I would follow
Following this process I was able to apply 4 coats to the entire hull with additional coats to some areas over 2 days. Ensure all areas are full coated. Some bits of the boat will be harder to reach.
Many narrowboats do not have the base-plate blacked. The general argument is three-fold :
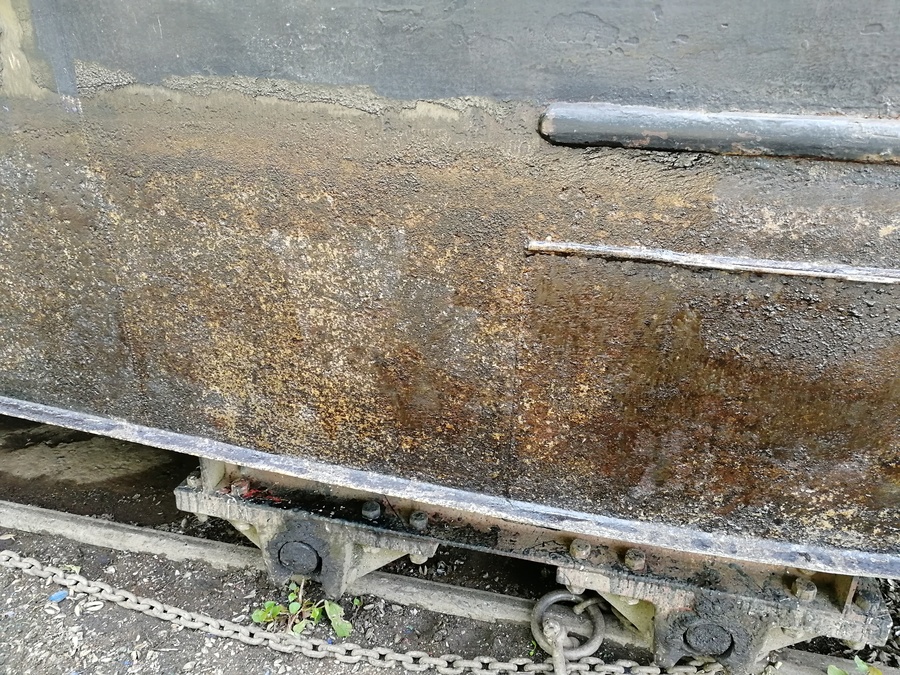
My boat had never had the baseplate coated. So what evidence do we see? Well under the engine, the lowest point of the boat we see

Here incredibly there is little sign of rust. There is some but the hull is flat. This however was not the case on the majority of the steelwork.
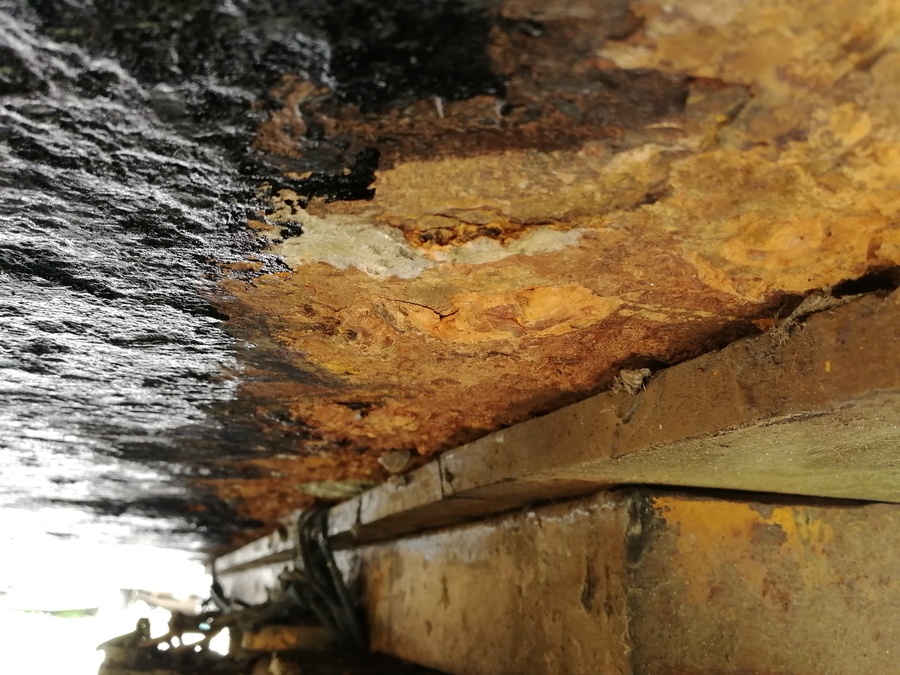
I don't think the baseplate of Mylindi has ever been blacked. From the survey in 2017, I don't believe it has lost much in the way of thickness however there was a layer of rust a few millimetres thick across the hull. This was abraded off by wire brush.
Note! I would strongly recommend chosing a blacking location with much better baseplate access because crawling about at Harefield was not much fun.
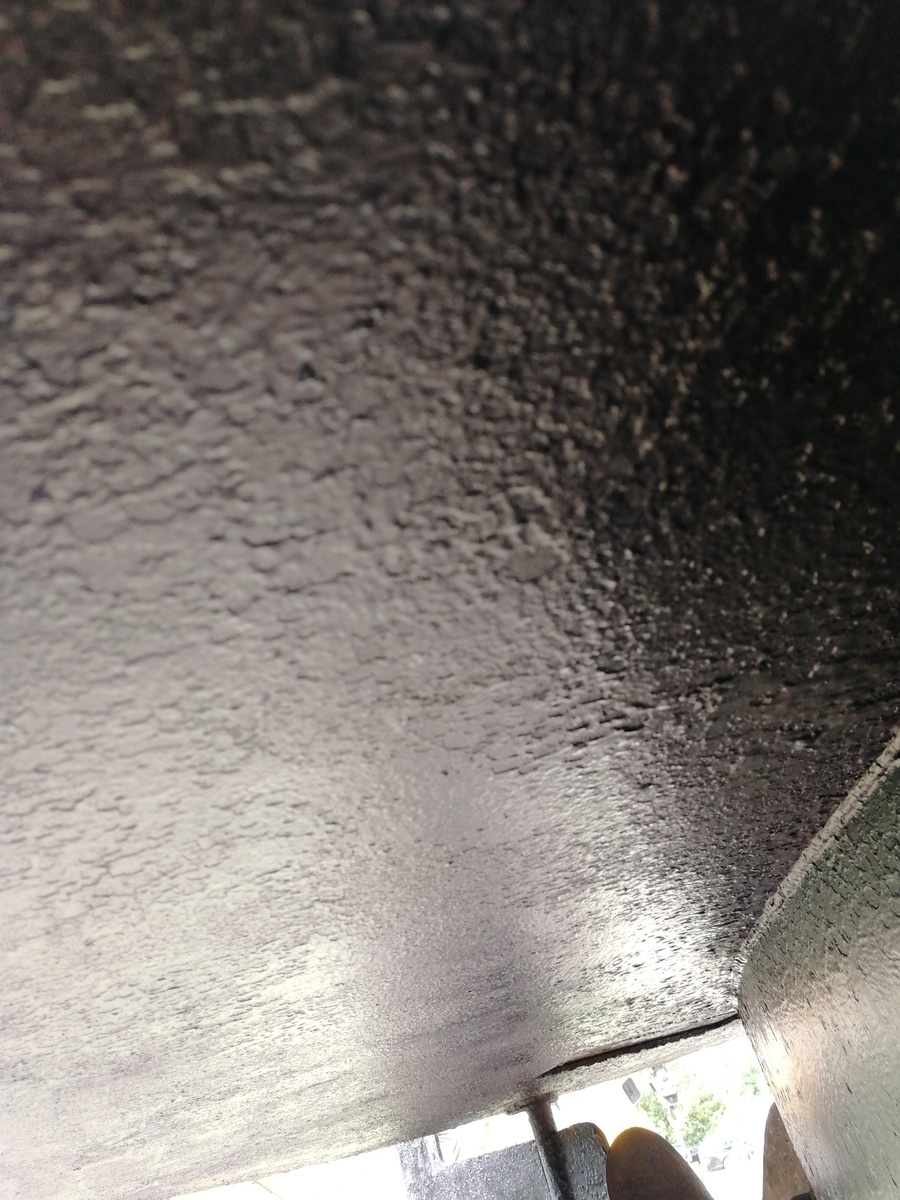
After a few particularly messy days I coated the baseplate with a few layers of Keelblack.
Booking a week-long slot in August was a fairly smart move given the weather. I would however choose somewhere with much better ground clearance next time. The correct tools definitely made all the difference. Masonry pile rollers made the job far far quicker.
Only time will tell if keelblack lives upto its promises. If it does, then I would say it's definitely worth a shout. The speed of application and ability to wash off with soap (yes it does eventually come out of your hair) is incredibly useful. I'll post an update next time Mylindi is out!
ps. Special thanks to my brother. Having someone else help is perhaps the best piece of advice I can offer.